Safety before maintenance
This guide summarizes the original PK LASER article. The coolant type, antifreeze method, valve positions and startup sequence are machine-specific. Follow the manuals for the laser source, cutting head and chiller; electrical, coolant-circuit and laser-emission work should be handled by qualified personnel.
Before inspection, switch off power to the laser system and water chiller, and close the chiller water supply and return valves. Never look directly into a laser outlet.
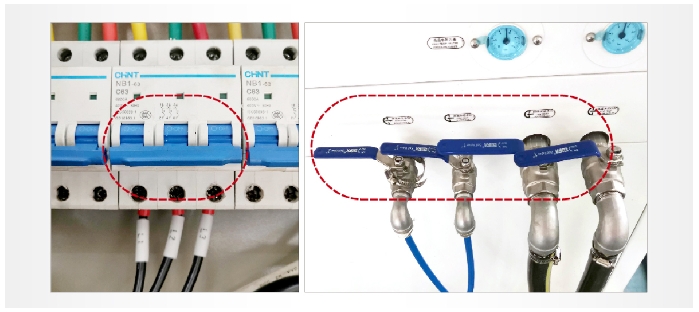
1. Check the electrical system
- Inspect the power cable for severe bends, damage or disconnection.
- Press the power-cable plug to confirm that it is seated securely.
- Check that control-signal cable connectors are firmly connected and not loose.
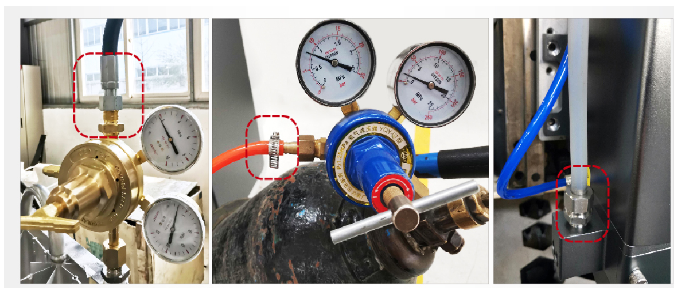
2. Check the gas supply
- Inspect gas lines for damage, blockage and leaks.
- Tighten gas-line joints as specified by the equipment maker.
- Use gas that meets the equipment manufacturer’s requirements.
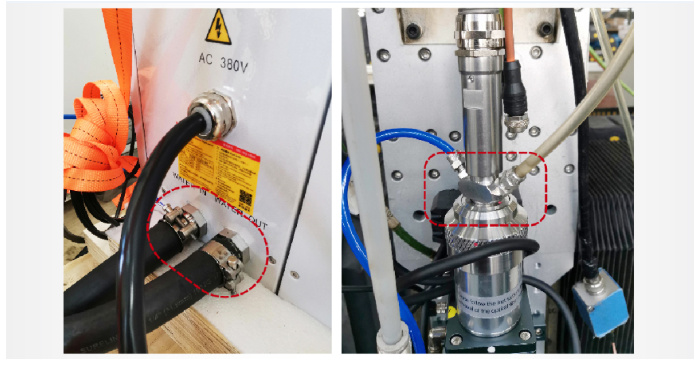
3. Inspect the water-cooling system
First confirm the inlet and outlet valves are closed. Check that the reservoir and water lines are clean and free of kinks, blockages or damage, then inspect the fittings for leaks.
- The source article describes using warm air to check internal chiller lines when ambient temperature is below 5 °C. Do this only if the chiller manufacturer explicitly approves the method.
- If equipment has been idle for a long period below 0 °C, check carefully for frozen coolant lines or ice formation.
- Add only the specified amount and type of distilled or deionized water. Leave the system for 30 minutes and check for leaks.
- The source mentions adding diluted antifreeze below 5 °C. Use only the type and dilution method specified by the chiller and laser manufacturers.
- Where the manufacturer’s procedure calls for it, power the chiller with other equipment off, open the inlet and outlet slightly, and circulate coolant at low flow to remove air. The source recommends completing this step within one minute. Mark the reservoir level, wait another 30 minutes and check for a level change or internal leaks.
- If there are no issues, follow the manufacturer’s sequence to open the valves normally, run the chiller and wait for the coolant to reach its set temperature.
4. Power up and inspect operation
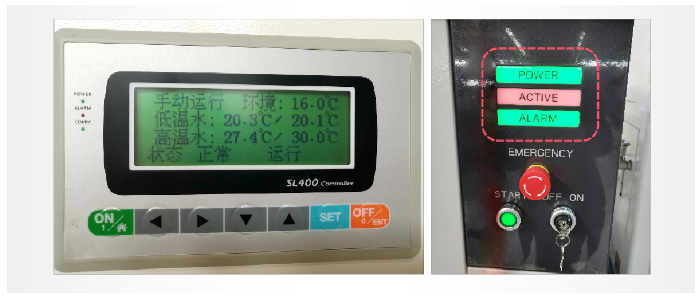
- Confirm that the chiller temperature has reached its setpoint before powering the laser system.
- Switch on the laser system according to the maker’s procedure. The source says the POWER indicator should illuminate.
- Inspect the optical path and indicators before any laser emission. Do not emit a beam or start processing as a substitute for inspection.
- Check for alarms. If one appears, use the approved monitoring software to read its details and contact the equipment supplier.
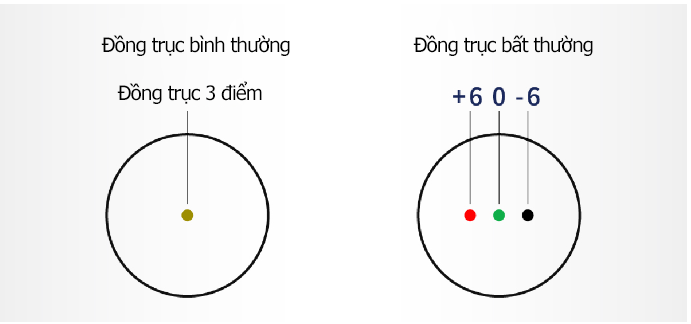
- If the maker’s procedure calls for it, use the red-light function to inspect lens cleanliness and verify nozzle-to-beam coaxial alignment. Stop and ask a qualified technician if the check is abnormal.
Need PK LASER support?
Send a photo or video of the alarm and the cutting-head model. Call technical support at 0394 542 839 or message PK LASER on Zalo at 0394 552 839.