Protective window and focusing lens are different parts
The cutting head’s optical assembly may include protective windows and a focusing lens. The number, position and specification of these parts vary by head model. The protective window helps shield the internal optics from process debris, but it is still a precision component.
Possible causes of dark spots
Dark or burned-looking marks may result from molten spatter during piercing or cutting, dust or oil contamination, moisture in the gas path, a damaged coating, or an optic that has overheated. A mark on the window can absorb energy and worsen during operation, so do not assume it is harmless. The exact cause must be determined from the machine and head design.
- Spatter can reach the lower protective window when piercing or cutting conditions are unstable.
- Oil, particles or moisture may enter through contaminated lines, filters or gas supply.
- Incorrect installation, a damaged seal or a scratched/coating-damaged window can affect the optic.
- Heat-related damage can also appear as discoloration or a persistent spot.
Reduce the chance of contamination
Use the approved process chart and piercing method for the exact material and thickness. Keep the nozzle and cutting head in good condition, and maintain the gas supply and filtration as specified by the machine maker. Avoid opening the optical assembly outside the clean conditions required for that head.
- Check the gas line, fittings and filter maintenance according to the machine manual.
- Use only the specified protective-window size, thickness and coating for the head.
- Follow the maker’s replacement and inspection intervals; do not invent a universal cleaning schedule.
What to do when you see a spot
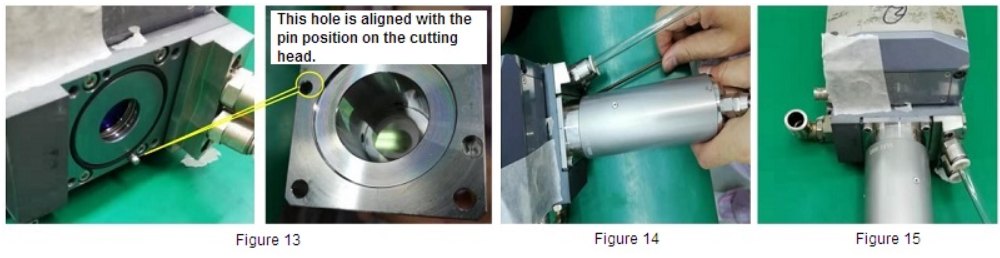
Stop the cutting job and follow the machine’s laser shutdown and isolation procedure before inspecting the head. Let components cool as directed. Inspect only as permitted by the manufacturer. If the spot is on an optical surface, has penetrated the coating, or the window is cracked, pitted or burned, do not continue cutting with it. Arrange replacement or service using the correct part.
Do not scrape the surface, touch the clear aperture with bare fingers, or apply a solvent or cleaning method that is not approved for that optic. Cleaning can make a damaged coating worse. If you are not trained to handle laser optics, have a qualified technician inspect it.
Select a compatible replacement
Match the exact head model and the manufacturer’s part specification, including diameter, thickness, material and coating. A lens or window that looks similar may not be compatible with the laser power, wavelength or optical assembly. Ask the head maker or a qualified supplier to confirm the part before installation.
Photo suggestion
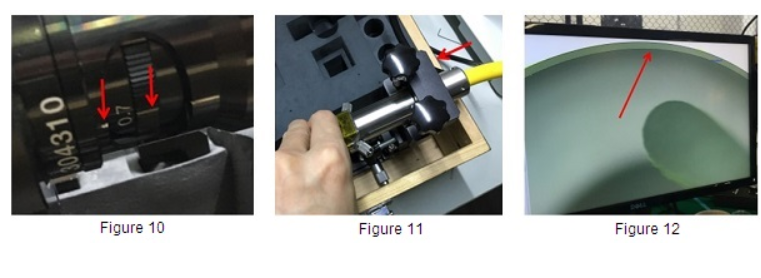
Use a close, well-lit photo of the marked window beside its part label or packaging, plus a wider photo identifying the cutting-head model. Do not remove the optic solely to take a photo unless the maker’s procedure allows it.
Get technical help
Send PK LASER the cutting-head model, a photo of the mark and the material/process being used. The technical team can help identify the correct replacement and advise when the head should be checked by a qualified service technician.